This post covers the modification of a Lucas mag/dyno to halls effect sensor and coil ignition, apologies to the purists out there if this modification offends you but it does eliminate magneto and timing problems forever and was developed for a rider not a show pony.
Background – magnetos produce a strong spark at high revolutions and full advance, but when retarded (for starting) and when turning over slowly they produce a weaker spark. Even when a magneto is 100% a rider is faced with ongoing maintenance adjusting point gap, timing, cleaning contact point faces and possible condenser failure. Magneto problems can be hard to diagnose and rectify, it has been said that all carburetor problems are in the magneto and all magneto problems are in the carburetor.
Carl M. has been running a modified ZE1 Magneto on a 1916 BSA K Model for 3 years with no problems whatsoever (having ridden an estimated 2-3,000 km).
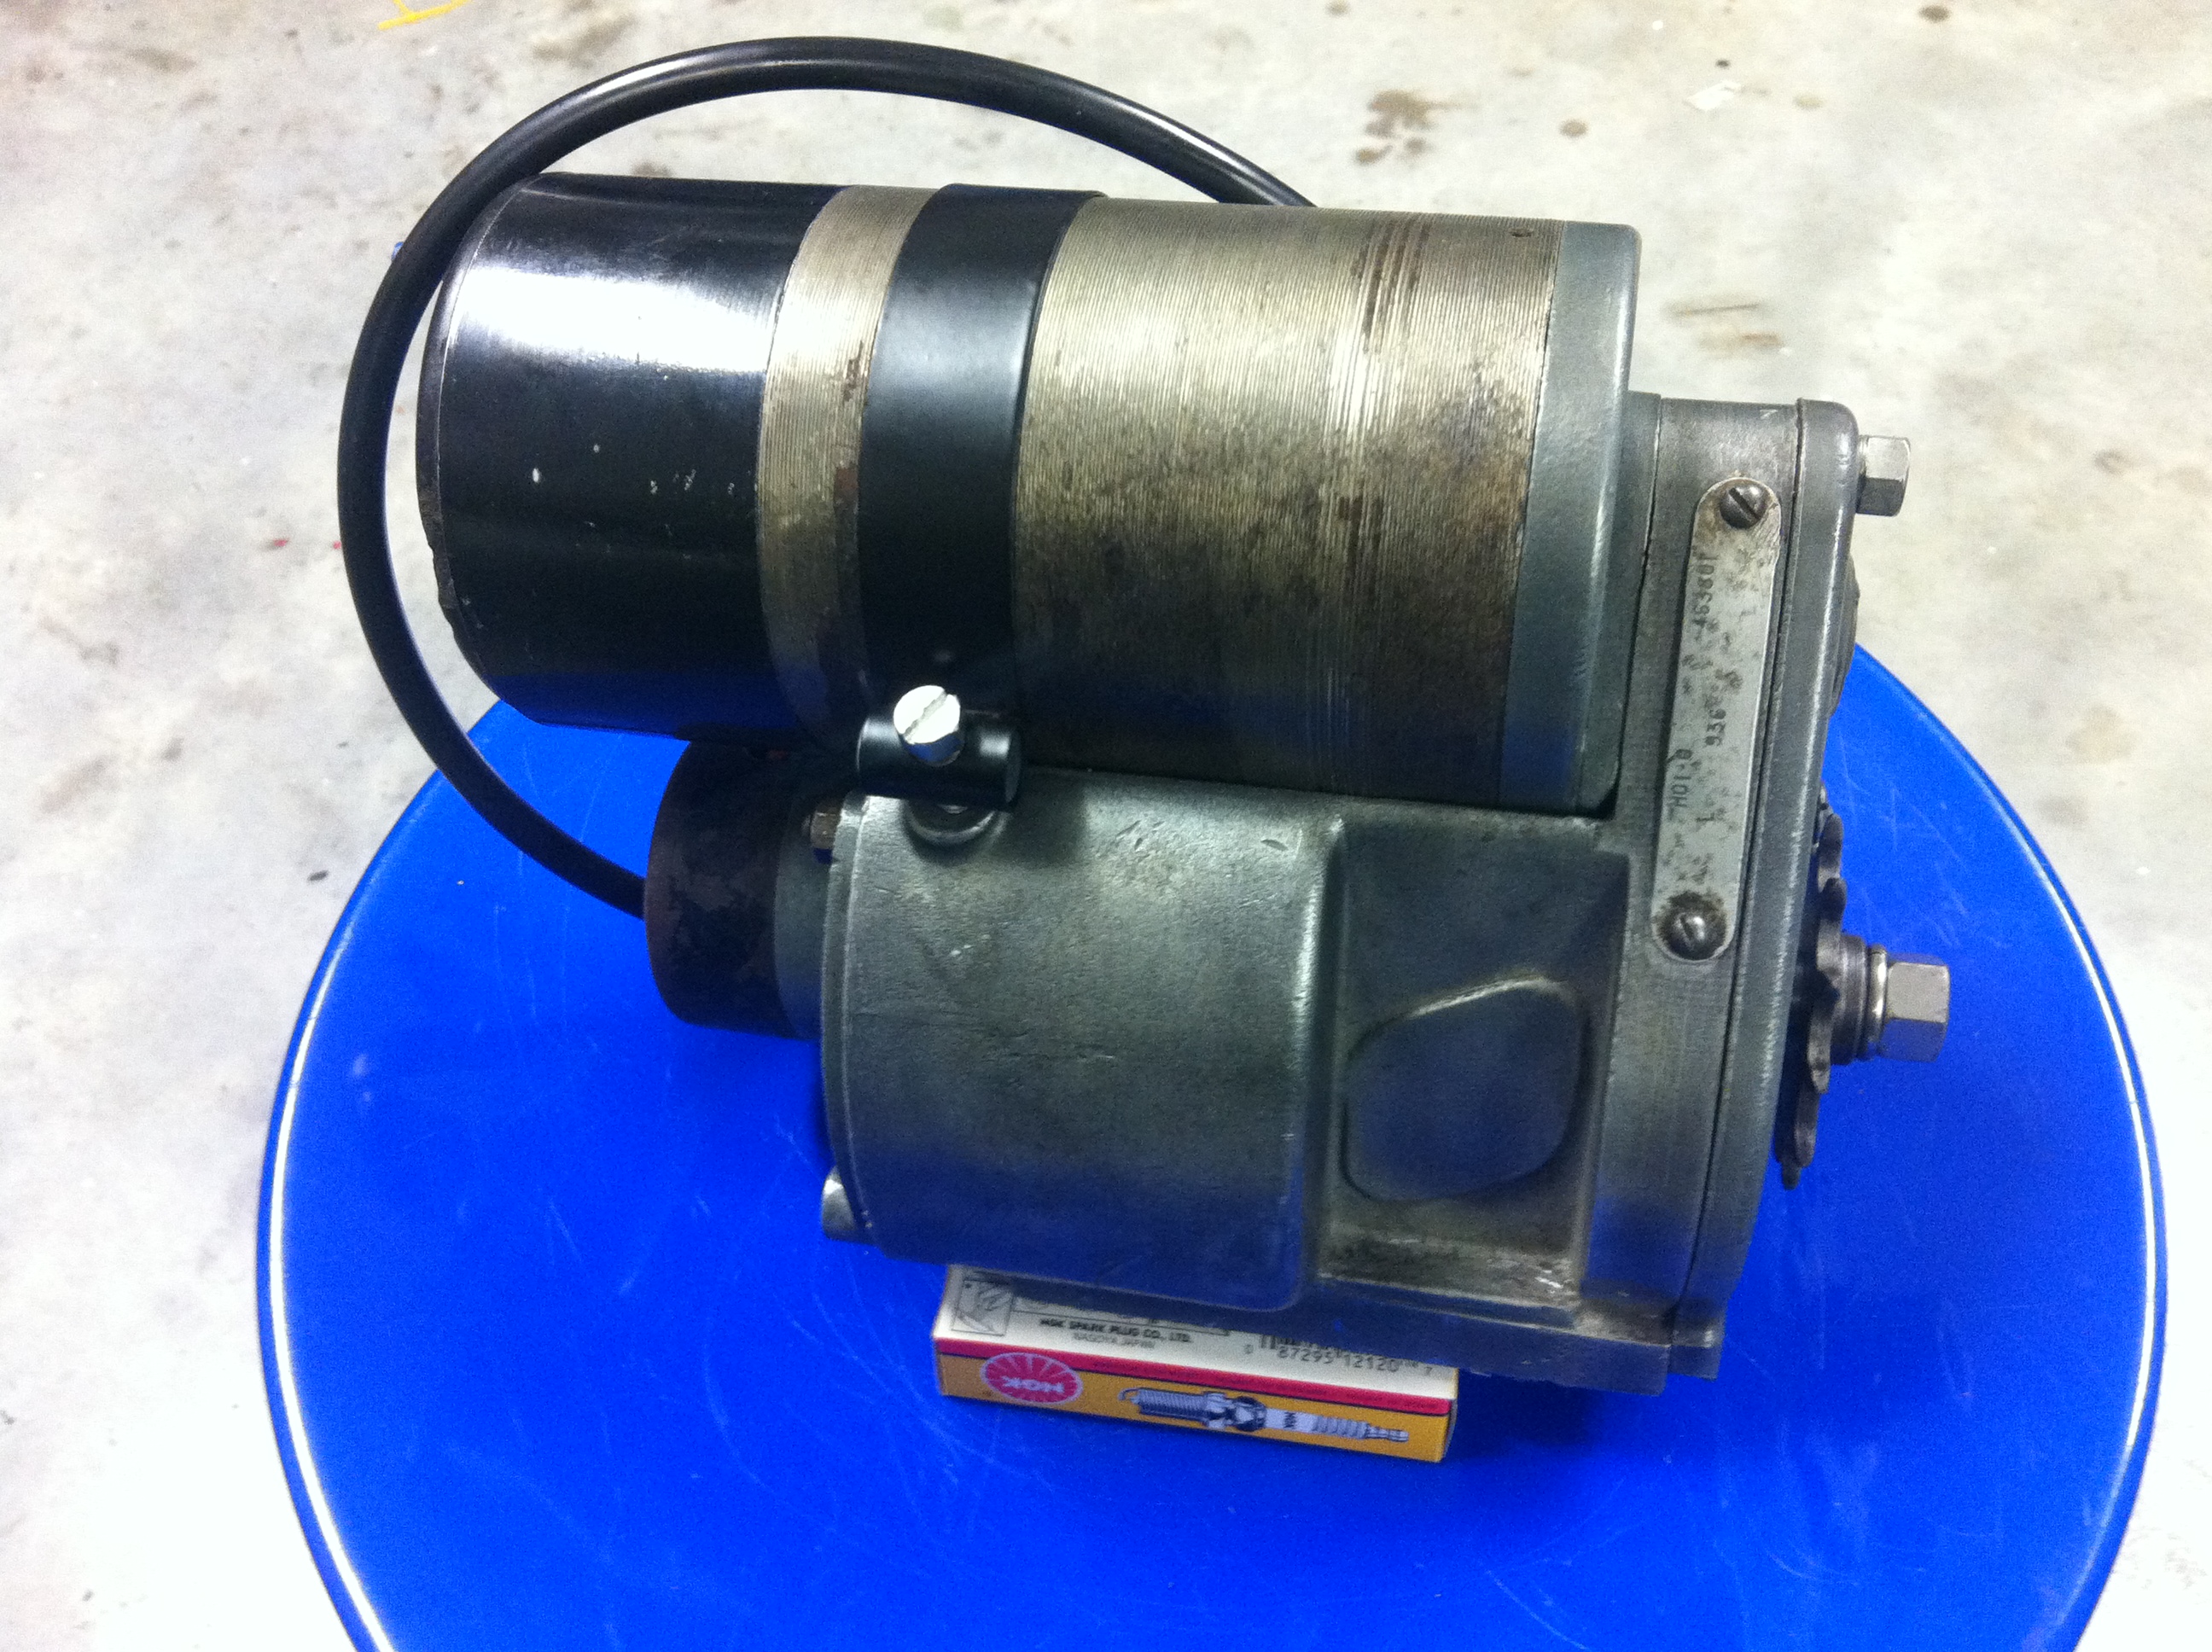
This post covers the modification of a Lucas Mag/Dyno built up out of spare parts and with as much of the components hidden as possible and the external appearance mostly maintained.
The modification is essentially the same as the ZE1 modification
The coil is hidden in a gutted dynamo body, the magneto armature is replaced with a shaft, the HT lead passing down to the magneto and through the original pickup, a manual advance and retard is retained and the only 2 electrical connections are positive and negative to the D and F terminals of the dynamo (the points cover clip at this stage needs to be changed to the longer version).
Naturally there is no longer a functioning dynamo so this is a total loss system with a 12 volt 4.2 amp/hour gel battery being only half consumed after a two day ride (this is from the BSA modified magnetos experience)
This is a you tube video of the modified magneto running both clockwise and anticlockwise
This post covers the modification of a magneto to halls effect sensor and coil ignition, apologies to the purists out there if this modification offends you but it does eliminate magneto and timing problems forever and was developed for a rider not a show pony.
Background – magnetos produce a strong spark at high revolutions and full advance, but when retarded (for starting) and when turning over slowly they produce a weaker spark. Even when a magneto is 100% a rider is faced with ongoing maintenance adjusting point gap, timing, cleaning contact point faces and possible condenser failure. Magneto problems can be hard to diagnose and rectify, it has been said that all carburetor problems are in the magneto and all magneto problems are in the carburetor.
Back in 2012 Carl M. had entered a 1916 BSA K Model in the Perth to Sydney Veteran Rally and in preparing the bike in 2011 an alternative to a conventional magneto was sought. It was decided to explore halls effect sensors and coil ignition for a Bosch ZE1 magneto.
Bosch ZE1 Modified Magneto “Mark 1”
The first (successful) magneto was based on a ZE1 magneto with a halls effect sensor mounted on/in the cam ring and trigger/power wires extending through rubber tubing (simulating the HT lead) to a lucas type 12 volt coil. A 4.2 amp hour gel battery was mounted in the rear tool box and the bike tested over several months. The bike was transformed, it started far easier, idled better and ran smoother, the current draw was around 0.2-.25 amp/hour and the bike could easily be ridden over 2 days on 300 km plus events without recharging the battery and at the end of the event the battery was found to still have around 50% charge remaining.
This is a video is “Mark 1” being bench tested, the spark is jumping around 8 mm and with the engine running simulated at around 500 – 3,600 rpm (i.e. magneto at 250 – 1,800 rpm)
Once fitted the timing was set statically and then adjusted with a timing light (by rotating the magnet block on the armature taper within the cam ring), once set it never changed and apart from making sure the battery was topped up the magneto was not touched again over the next 2 years or so, manual advance and retard was maintained. This magneto was used for over 2,500 km of rides.
Unfortunately due to work commitments the Perth to Sydney Rally could not be completed.
Bosch ZE1 Modified Magneto “Mark 2”
Having proved up the concept it was decided to explore the option of incorporating the coil inside the magneto, many coils were purchased and tested and all the smaller coils had insufficient resistance to suit the sensor and were discarded. A second hand Ducati coil was found (with suitable coil resistance) and fitted inside the magneto body, initially it worked well but failed after an hour or so bench testing – it had come from a bike being restored and was of unknown quality – after market replacement coils for this Ducati were too big to fit the magneto.
Bosch ZE1 Modified Magneto “Mark 3”
After several months of testing unsuited coils, one was found and while slightly too large it looked like it could be modified to fit and be used, this coil was a Dyna DC10-1. The ends of the coil were trimmed off, the coil sikaflexed into position (as the mounts had been cut off), the magneto armature removed and replaced with a shaft and this allowed just sufficient room to fit the coil and run the HT lead through the original ZE1 HT outlet (that was turned down from a solid piece of polypropylene as it needed to protrude slightly more).
The Veteran BSA fitted with the new magneto has now traveled several hundred km and it seems to work as well as the original Mark 1 magneto.
During this time a few other club members /veteran motorcycle owners have modified their bikes to have the same system and they all report a changed bike with easy starting, idling and improved running.
This magneto/bike is being ridden in the 2014 Adelaide to Darwin Veteran Rally, it will have two batteries and they will be swapped over and recharged every second day.
Halls effect sensor and magnets/magnet holder as brought from Ebay
Dyna coil mounted inside of the ZE1 magneto with epoxy putty to insulate the contacts
Bosch ZE1 Magneto with the HT lead passing through the casing
Finished HT lead
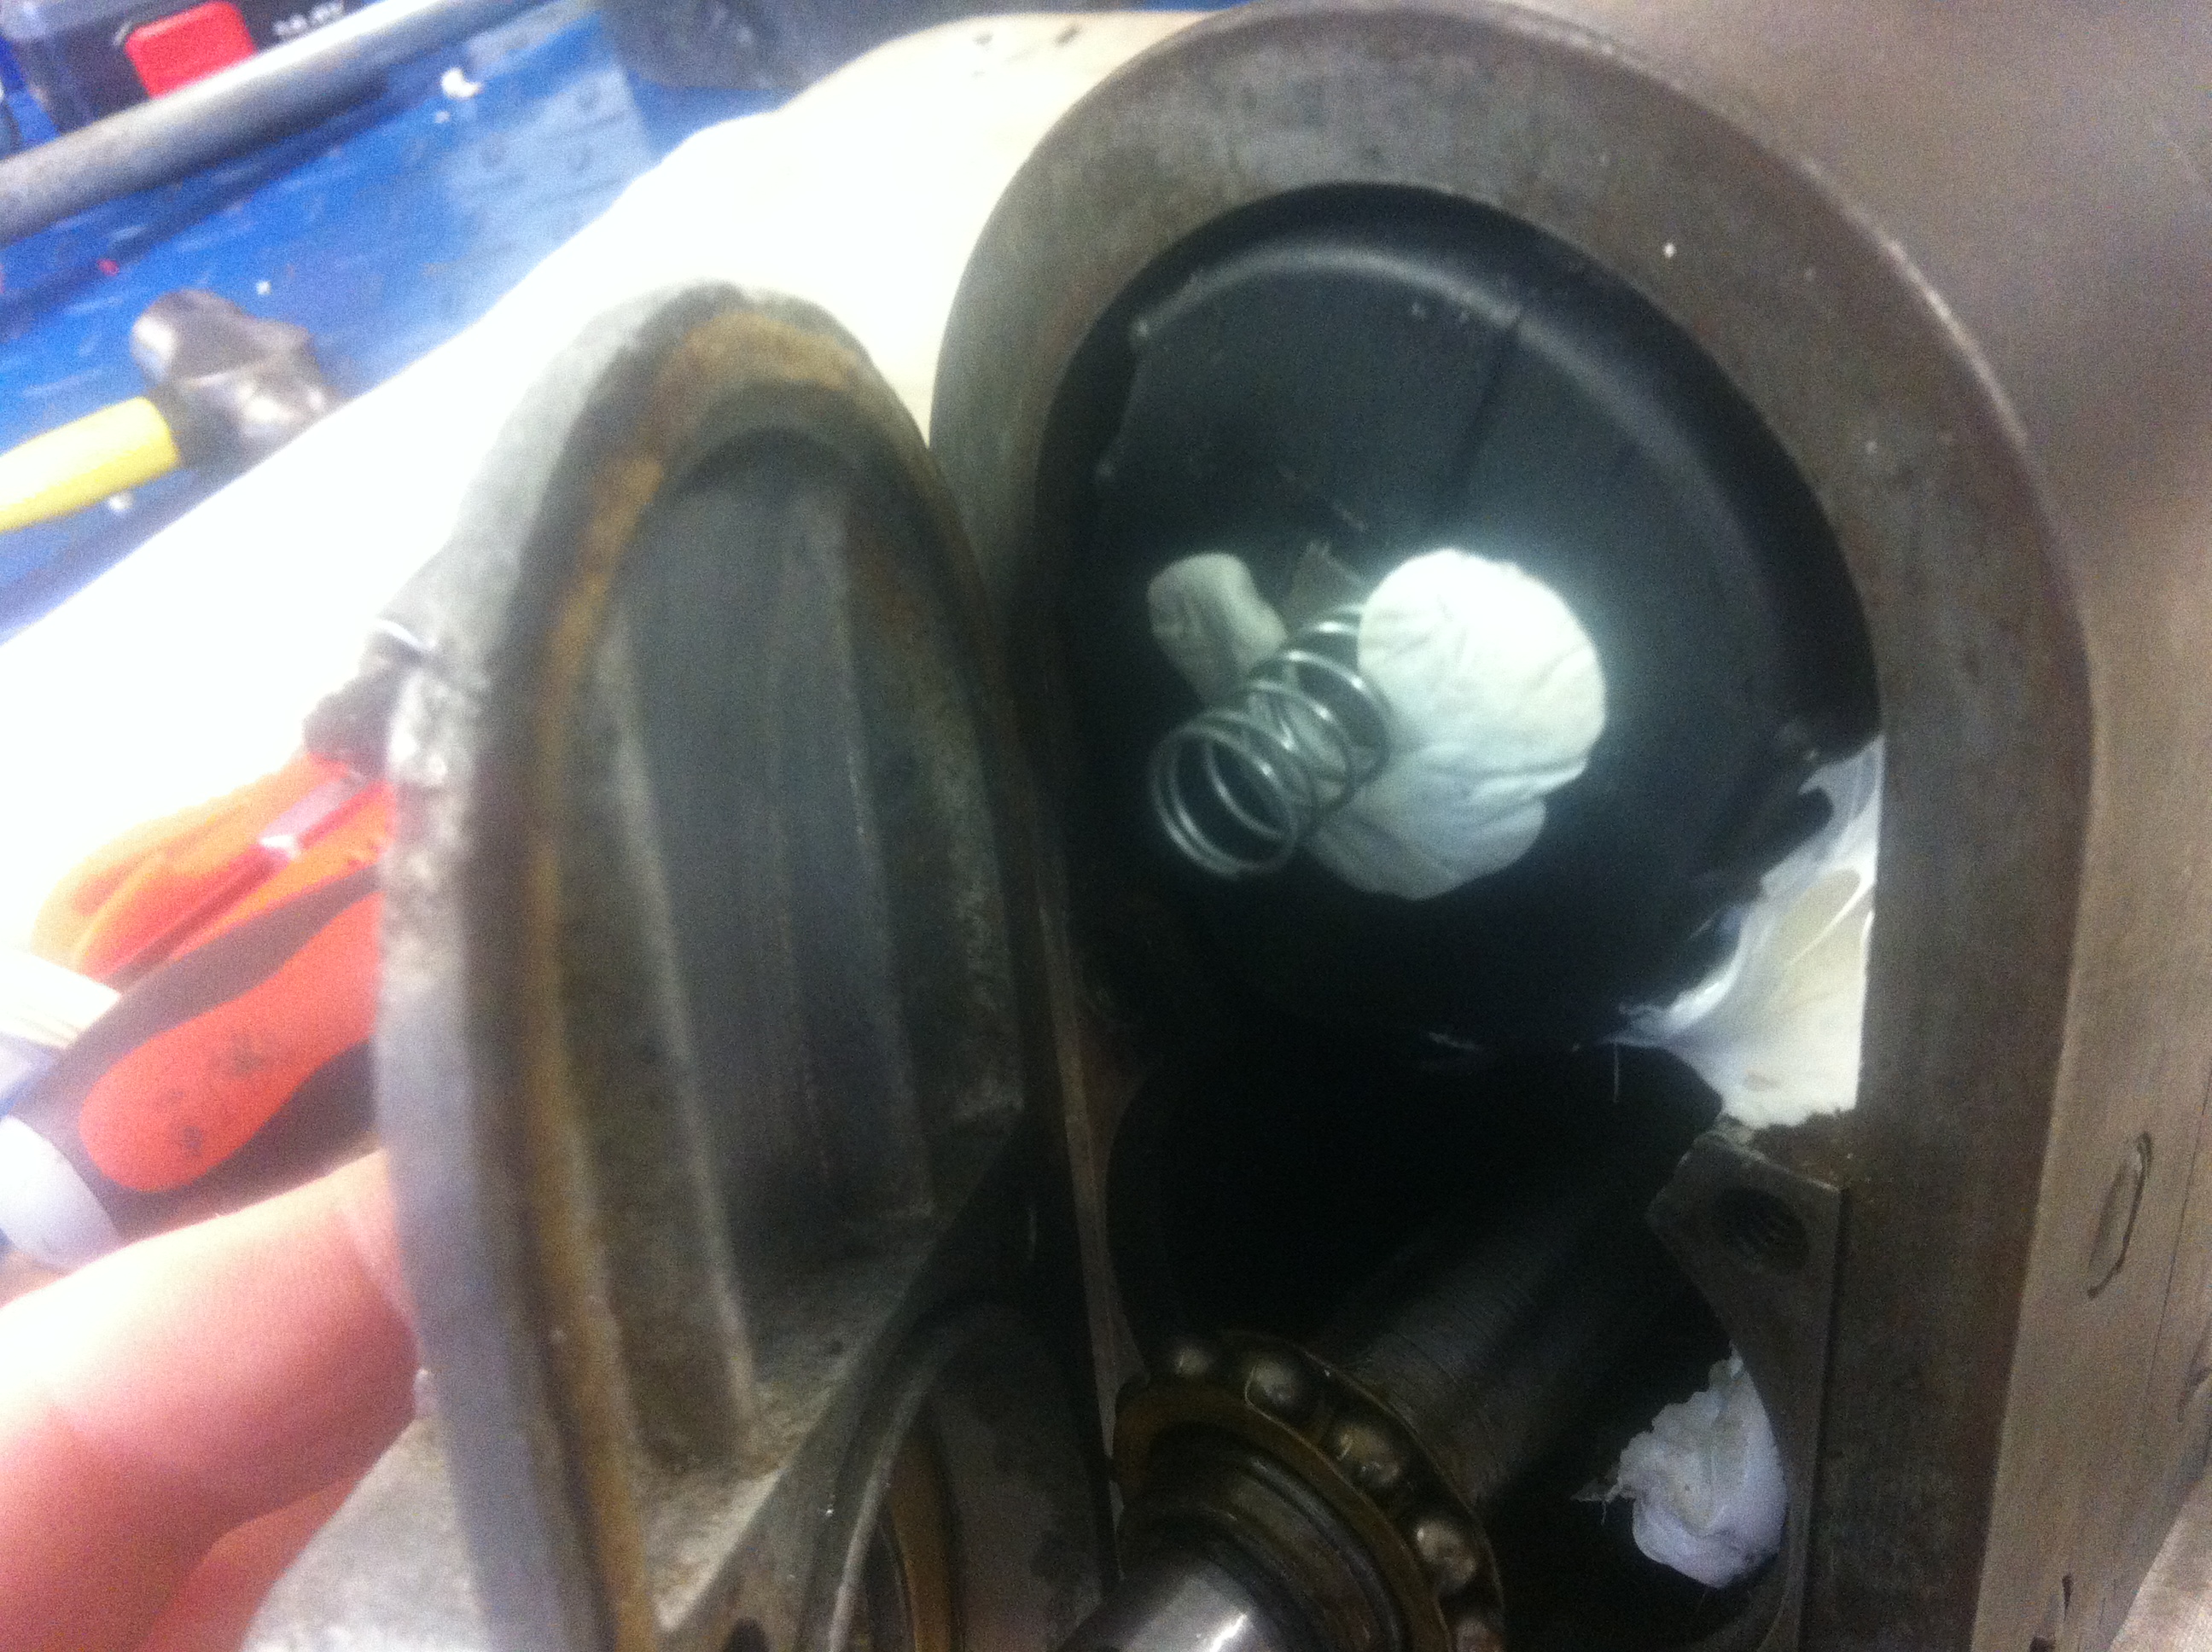
Earth spring
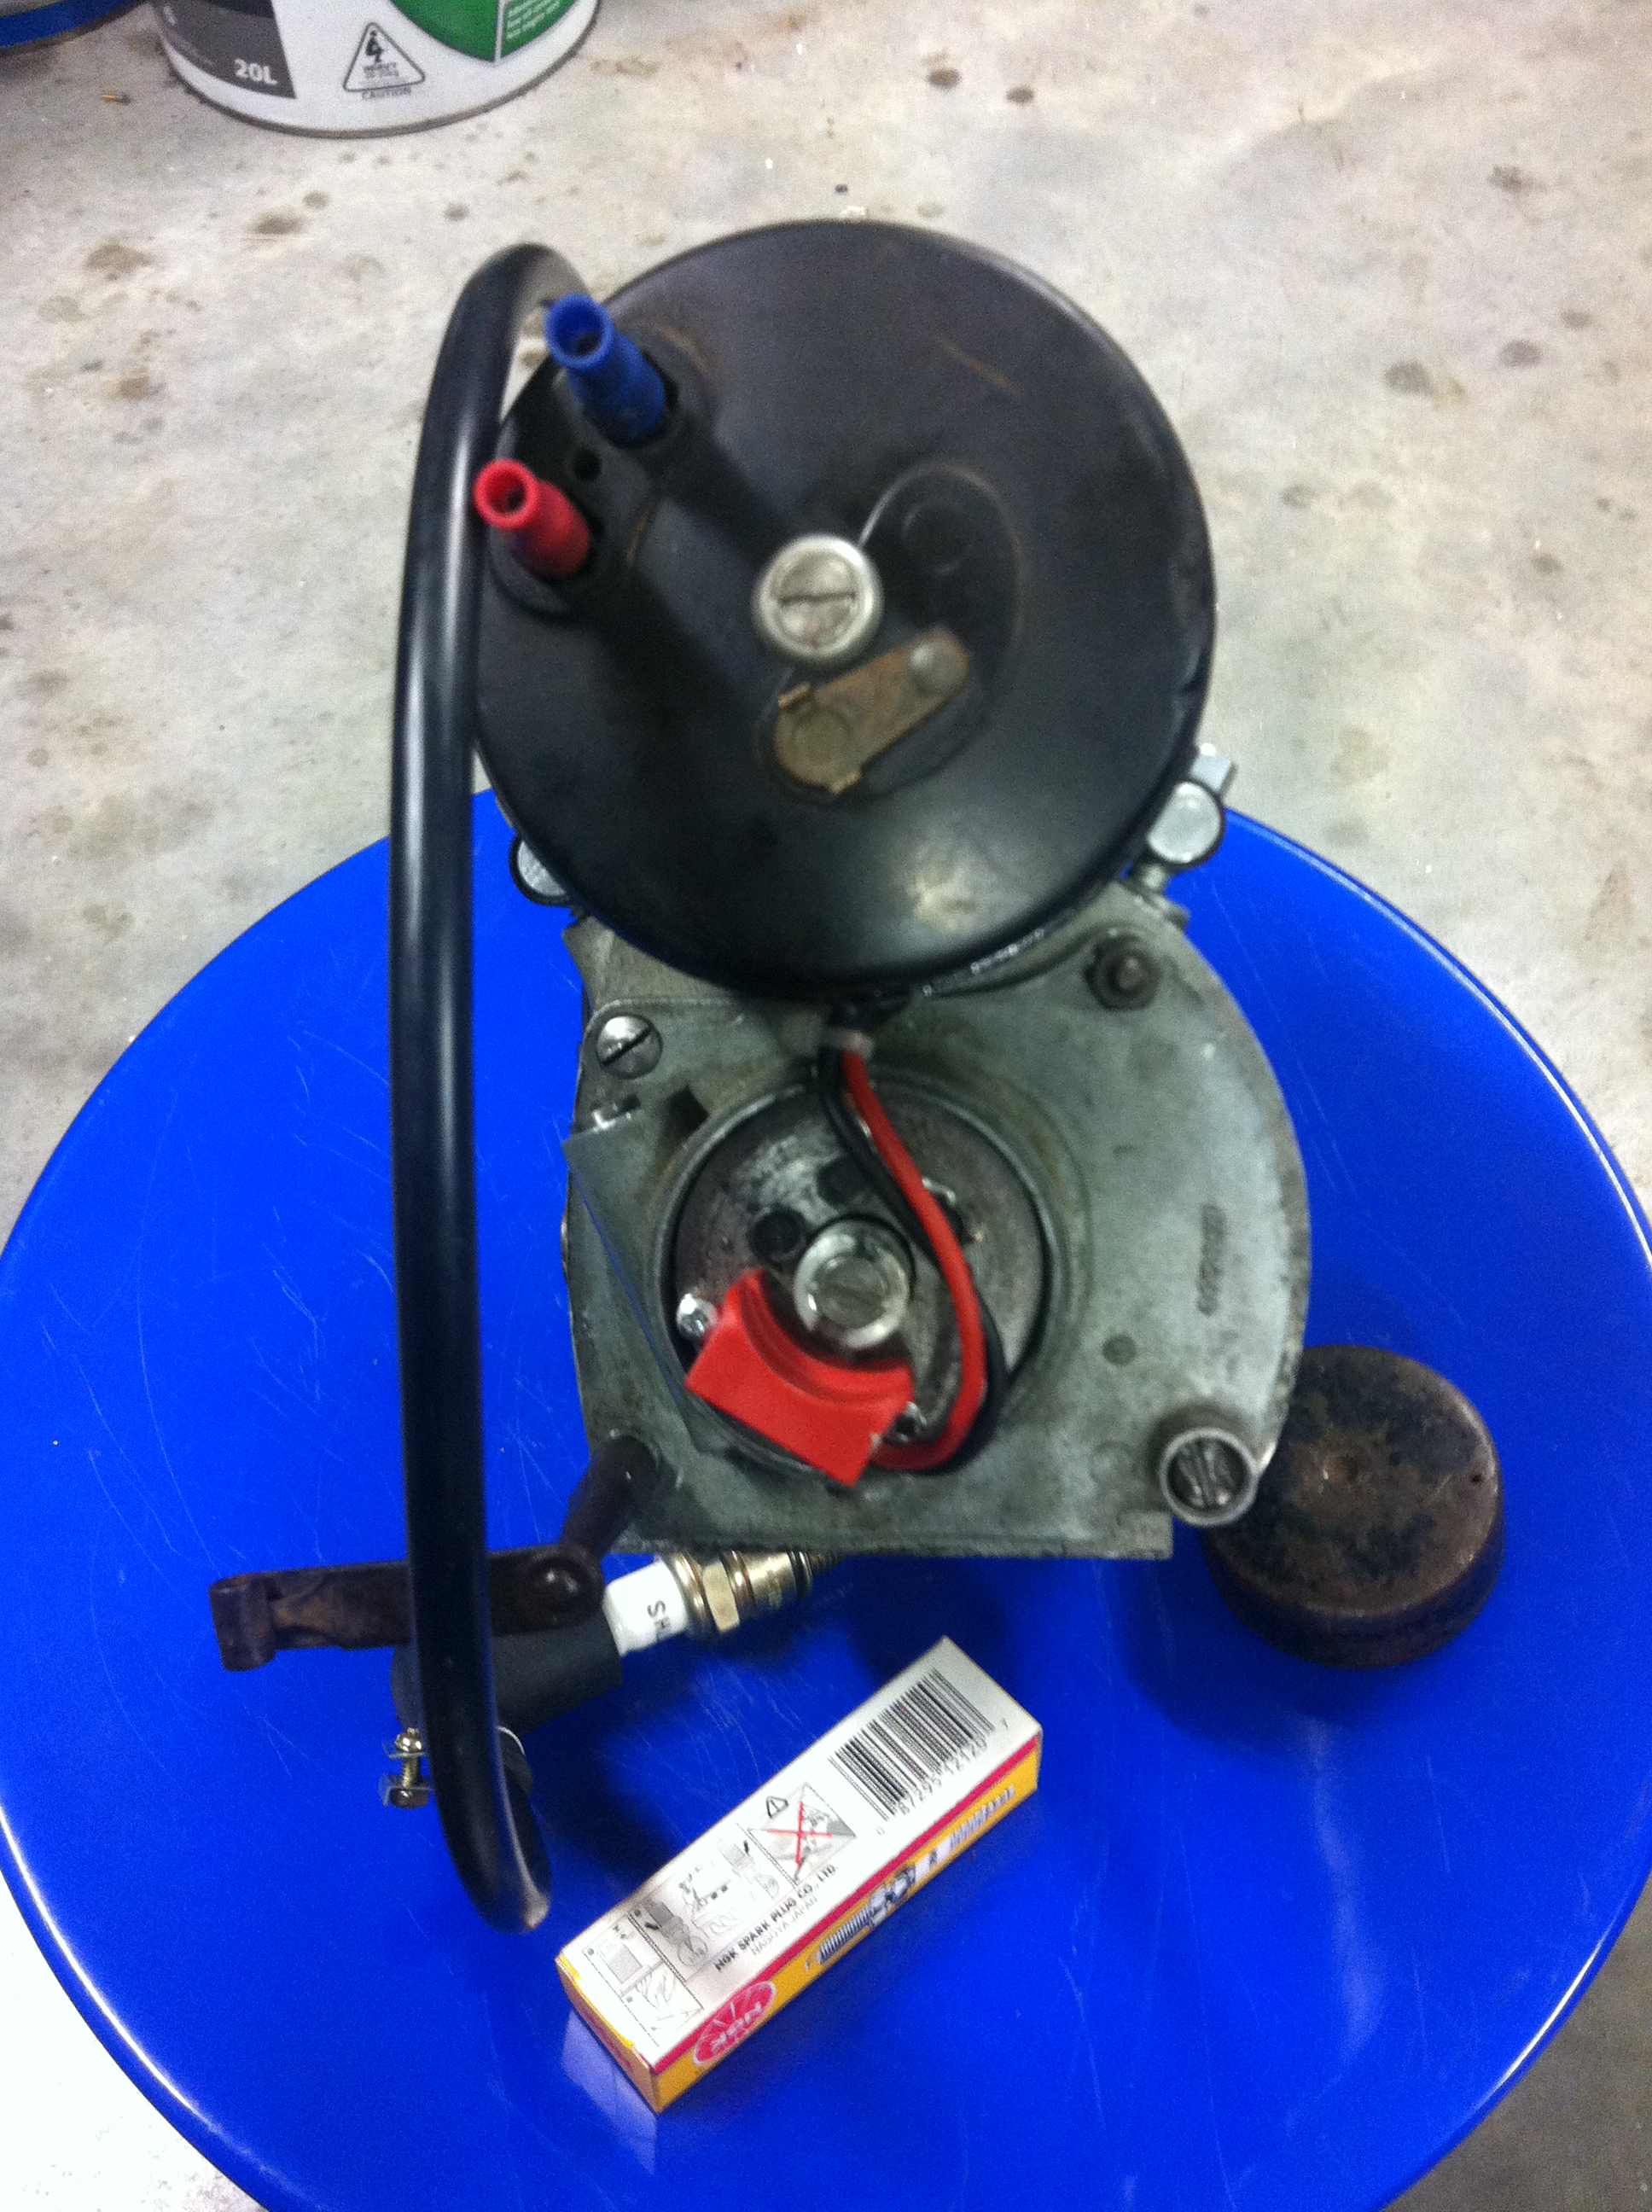
Removed cam ring and wiring
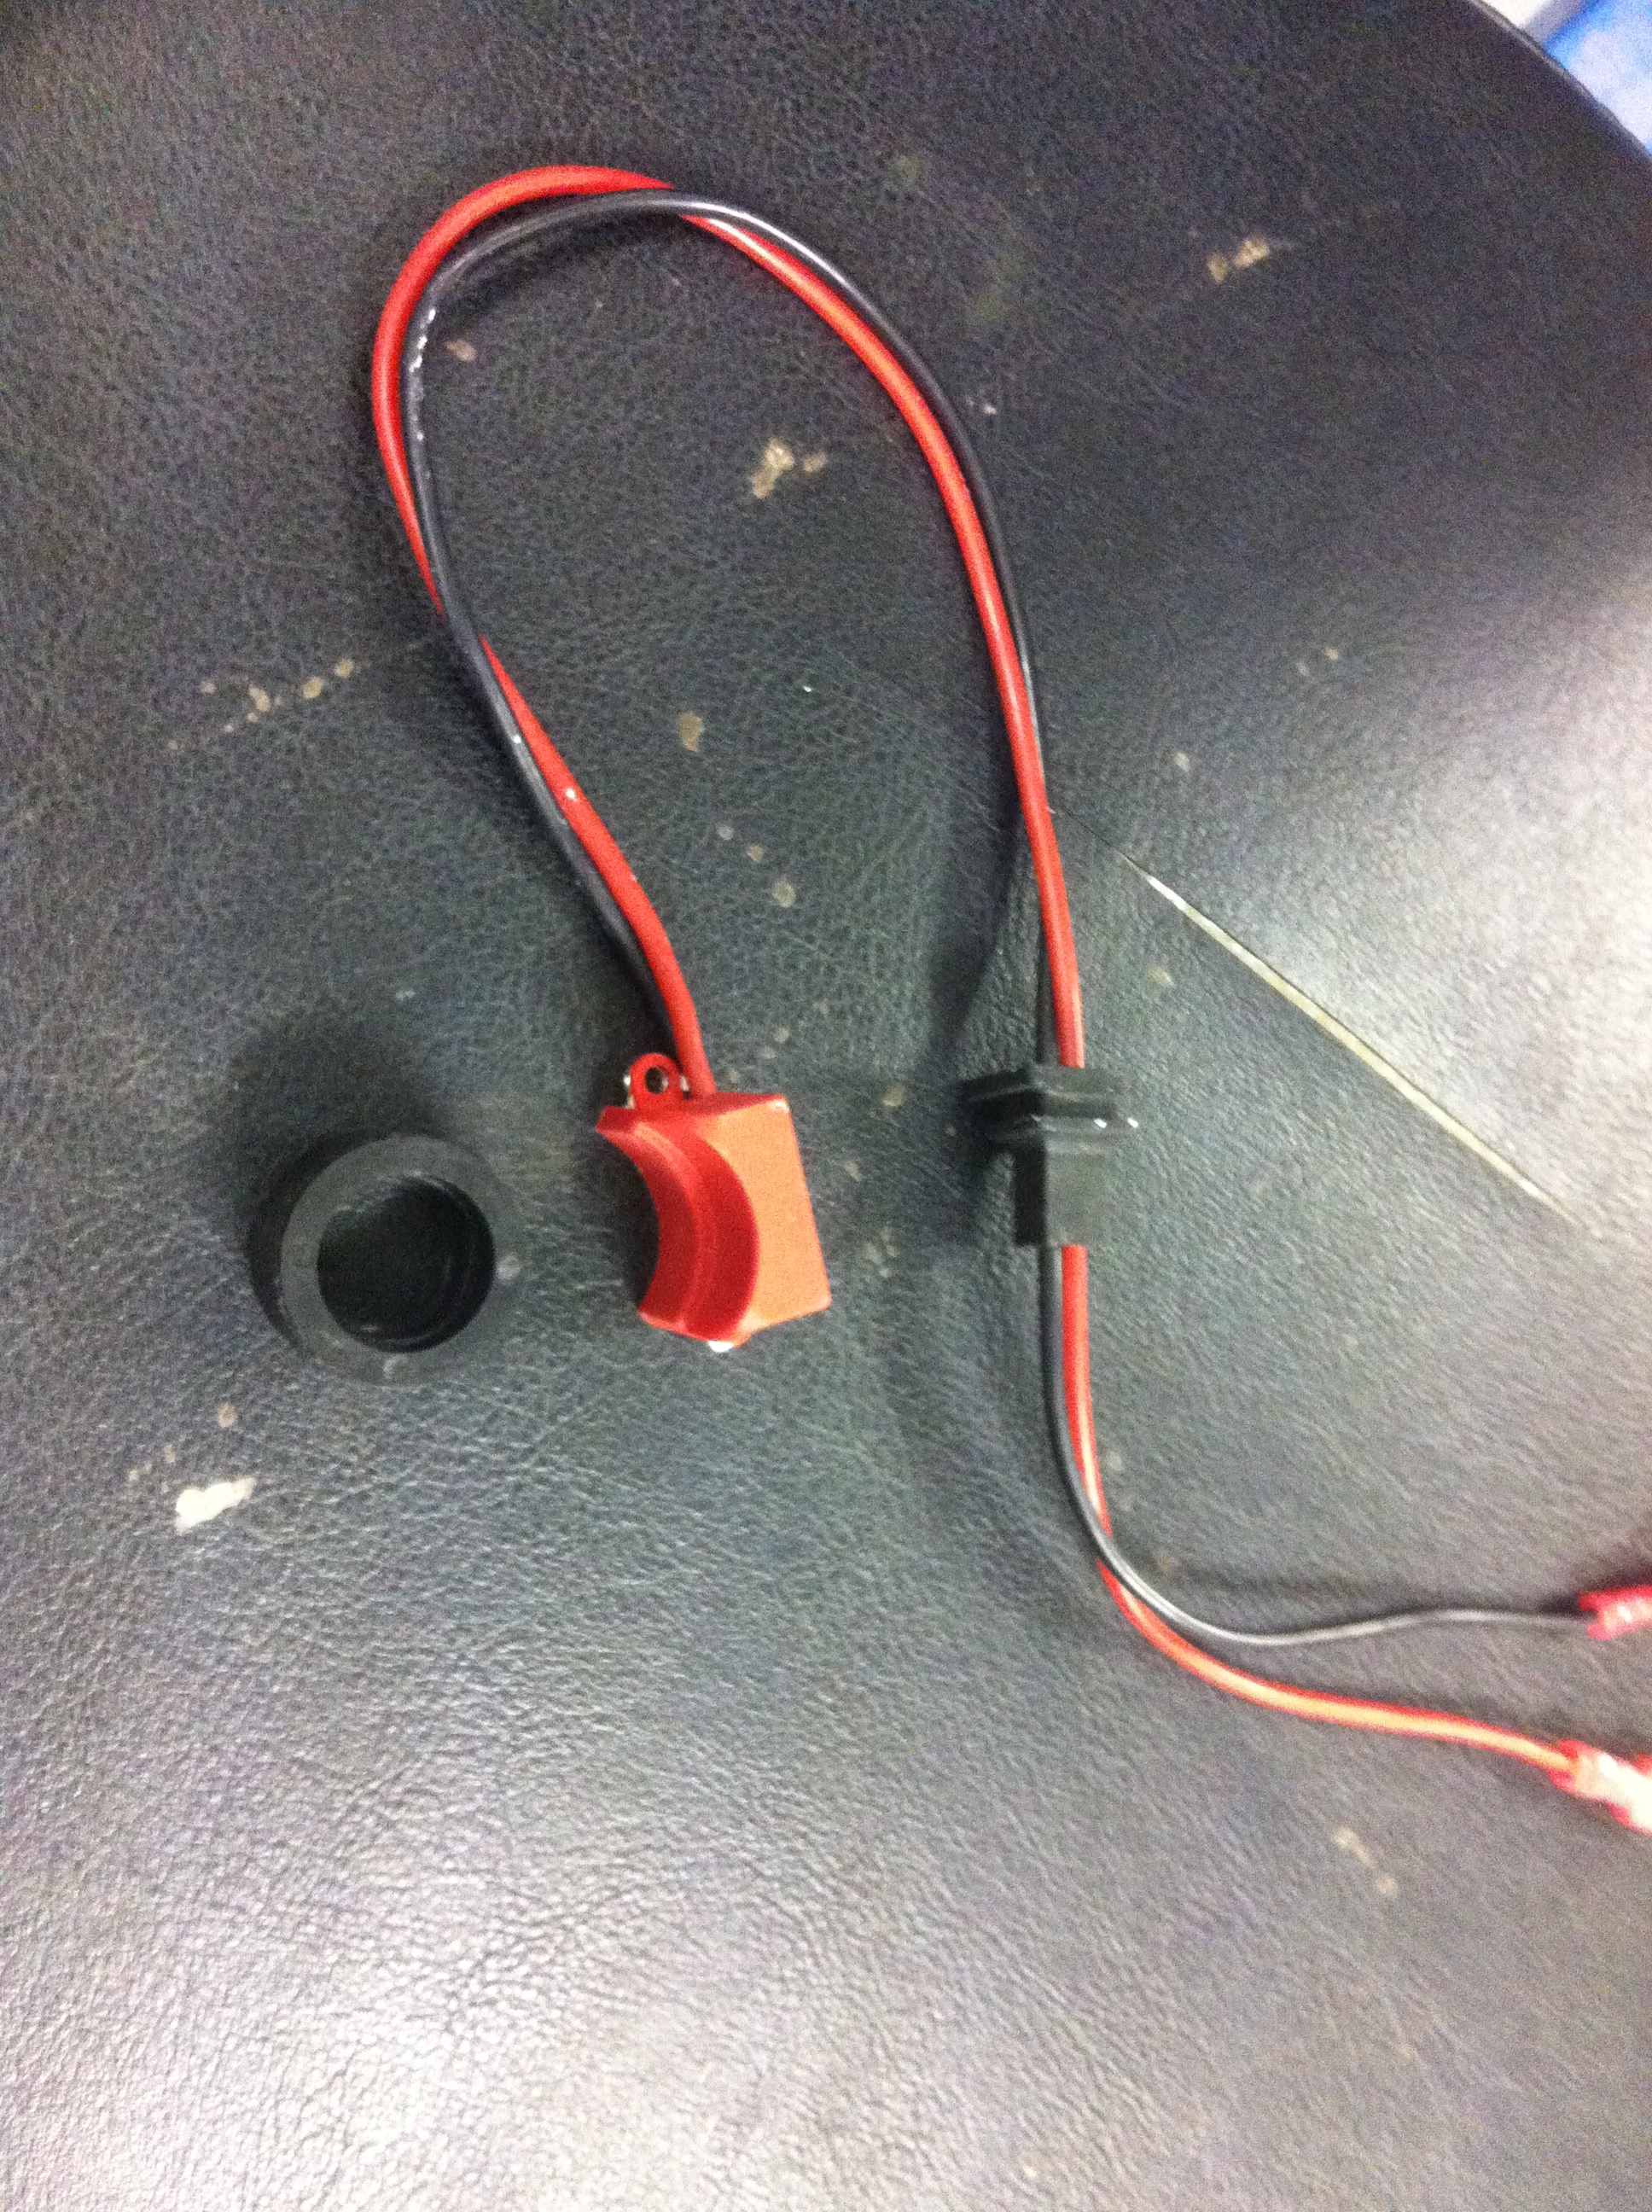
Halls effect sensor and trigger magnet mounting block
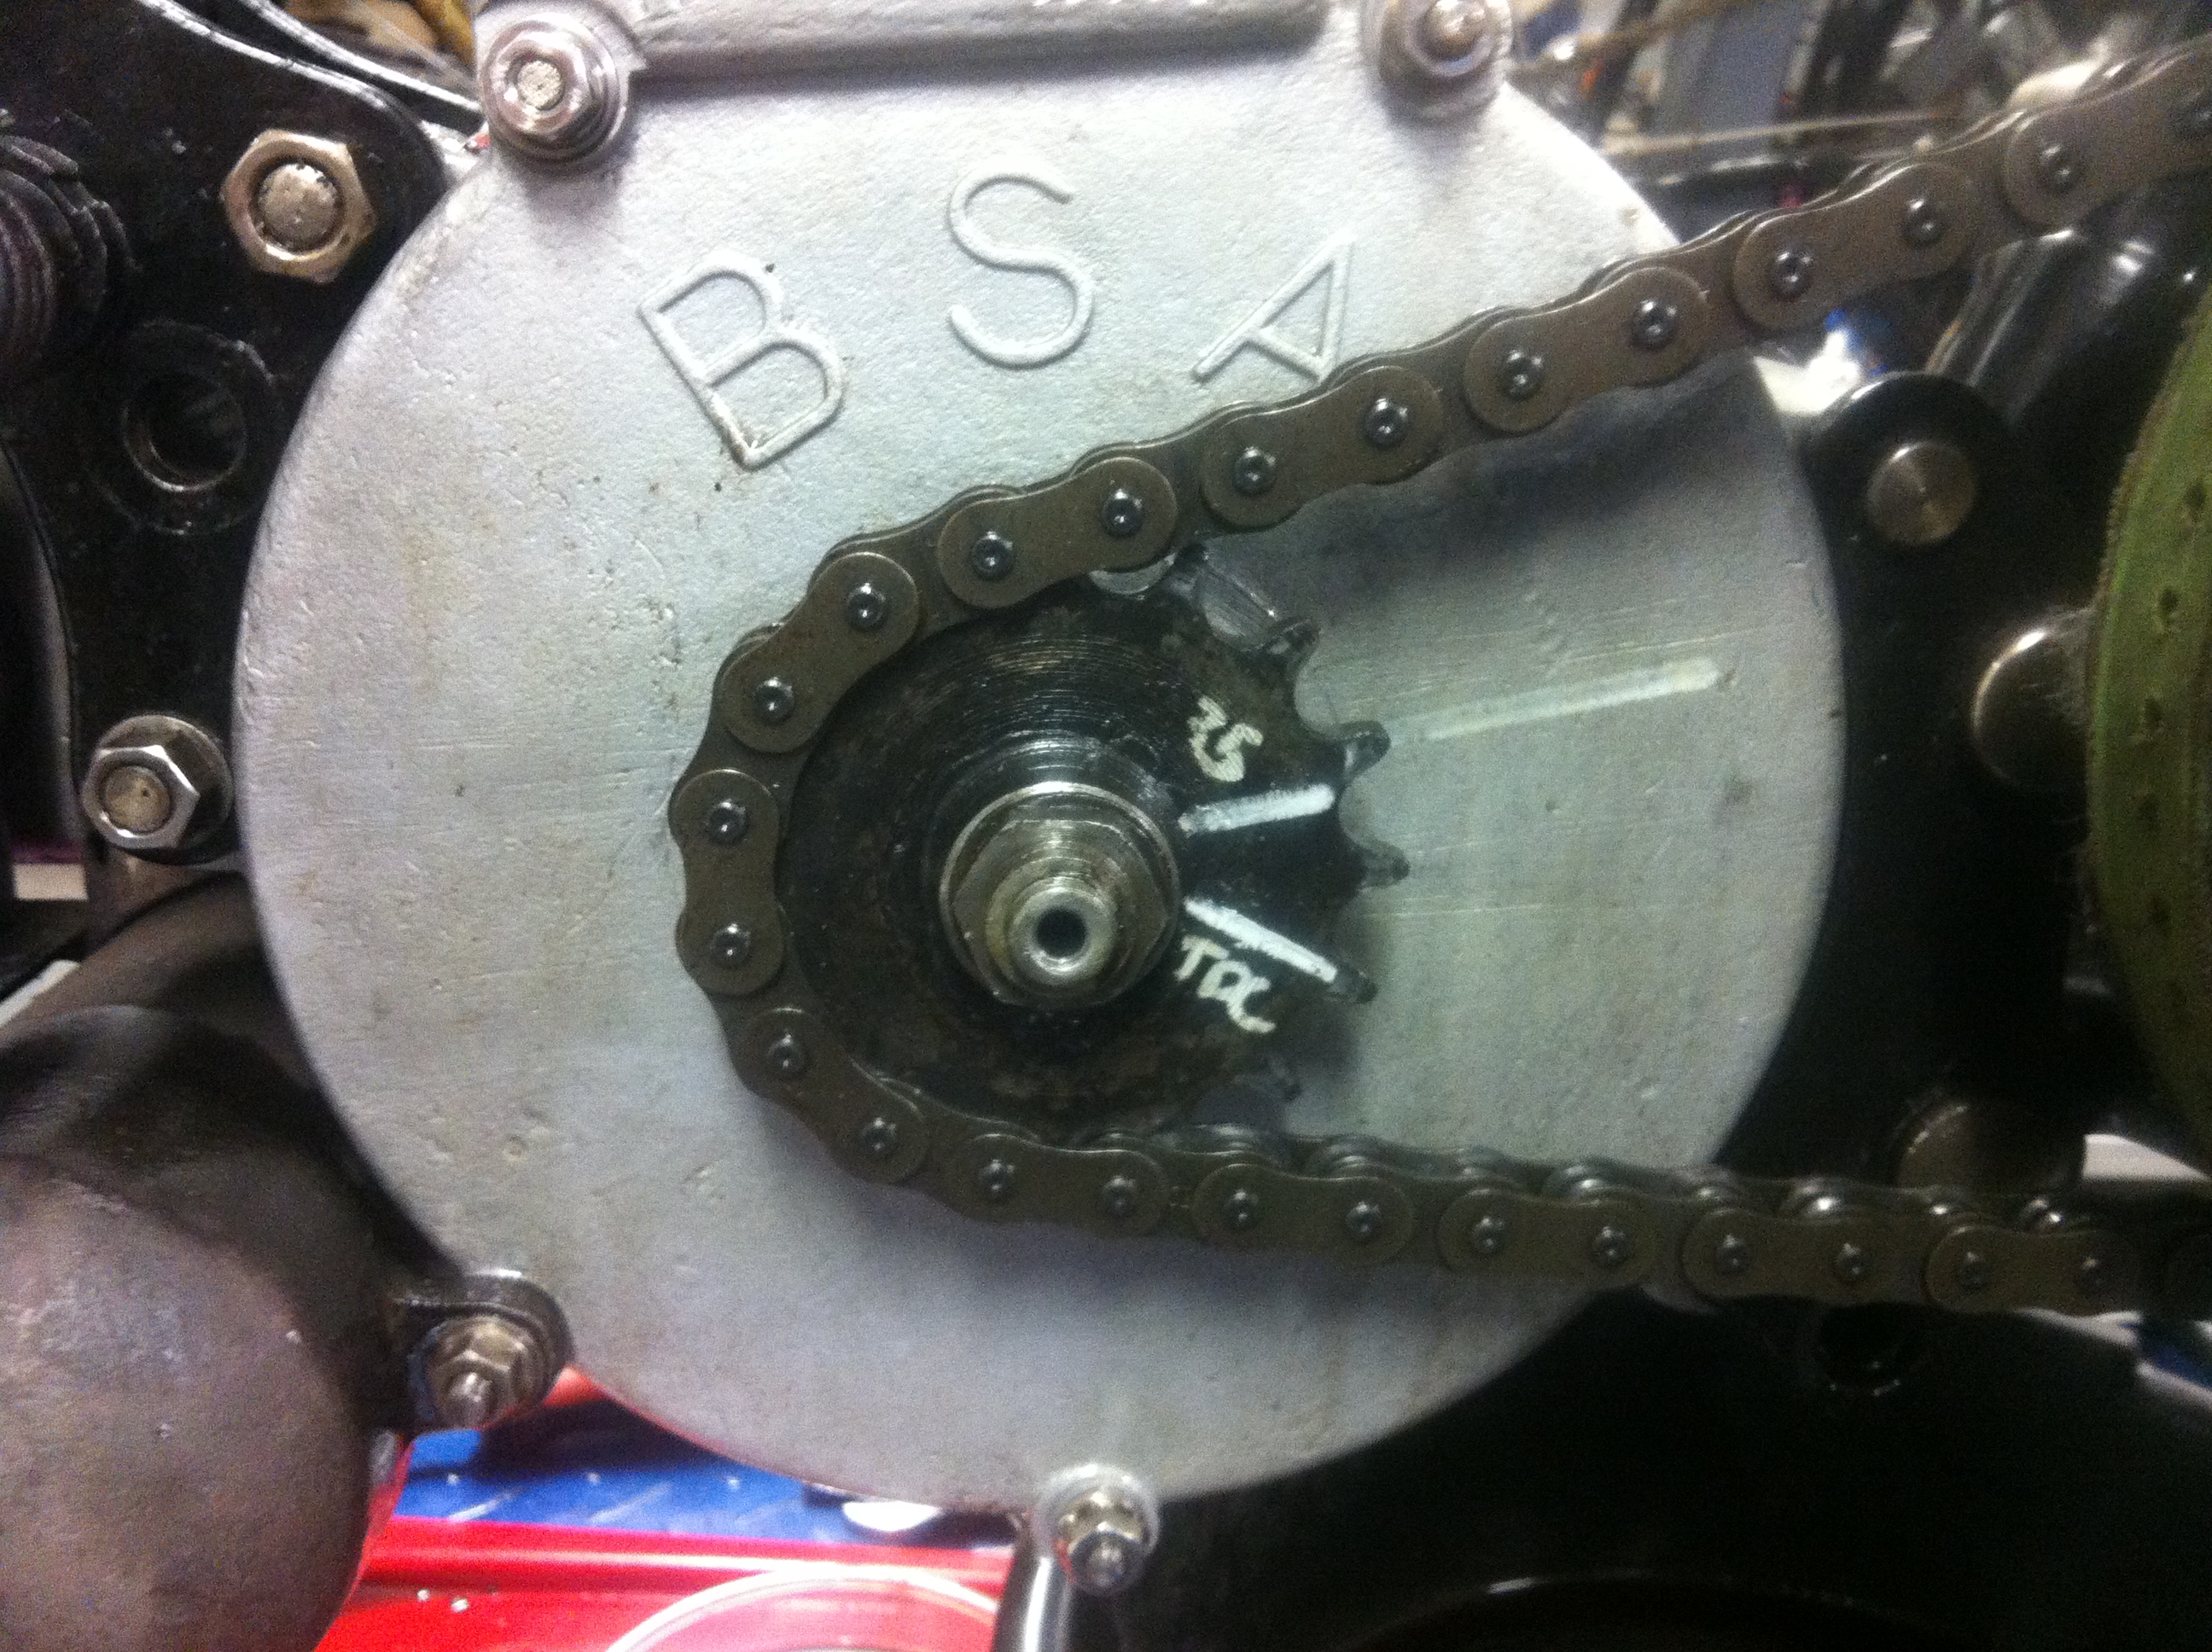
35 degree before TDC static timing mark
Dynamic timing position 35 degrees BTDC and fully advanced, this is correct for ACW rotation of the magnets, CW rotation would have the static timing closer to the center of the module. Initial static timing was aligned with the white mark.
Modified Magneto “Mark 4” onwards
Future plans are to modify a vee twin magneto with both cylinders having correct timing (using a twin spark Dyna Coil and wasted spark to each cylinder) as well as a 20/30’s Magdyno with the coil hidden in a simulated dynamo. Plans are also in place to use this method of ignition in place of a trembler coil in a 1903 motorcycle currently under restoration.
For those interested in pursuing this type of modification you will need:
The direction, completeness and style of magneto can vary greatly as it is only being used as a carrier of the rotating shaft, the cam ring can even be a slightly loose fit on the body as there is no contact between the sensor and triggers (normally a loose fit would send the contact point gap all over the place). “Mark 3” has been built up out of spare parts as a trial.
A halls effect sensor and rare earth magnets – a suitable place for these is to buy any system for any vehicle from “simonbbc” on ebay, buy the cheapest listed as the components are the same.
The coil should have a primary resistance of at least 3 ohms (measured between the two low voltage contacts) and a secondary resistance of at least 7,000 ohms (i.e. measured between HT and either one of the low voltage contacts), most older style Kettering type/contact points coils would be suited, most modern CDI coils would not.
A Dyna DC10-1 coil has been found to be suitable with a primary resistance of 5 ohms and secondary of >12,000 ohms. The “Mark 1” coil was a typical Lucas ebay reproduction with a primary of 3 ohms and secondary of around 8,500 ohms. The Dyna coil packs a stronger spark and is much more compact to that of the Lucas style.
On Mark 1 – Mark 3 the trigger magnets are setup balanced with a wasted spark on the exhaust stroke as a result (the engine runs and sounds the same as it did without the wasted spark).
The HT output needs to be remade slightly more protruding and the points covers needs slightly more clearance (a core plug works fine).
The halls effect sensor is mounted on a plate/sleeve that fits in the cam ring and just clears the magneto body to the rear.
The magnets are mounted in an aluminum tapered mount that fits to the armature shaft.
All up costs should be around AU$200-300 plus a condemned magneto and a couple of evenings work (assuming you have access to a lathe).
The wiring is easy, the module has only 2 wires and you need to add a third
Black goes to negative on the coil
Red goes to positive on the coil and then through a switch and fuse to the positive battery terminal
Green goes from the cam ring/halls effect earth to the negative battery terminal
The body of the coil needs to be earthed to the magneto body
Remember to switch the unit off when the engine is not running otherwise you can flatten the battery